App design for newbies: A complete guide to building your first app (with pictures)
Chances are, you’re either here because you have an awesome idea for an app, you want to learn more about the app design process, or you were simply enticed by the “with pictures” part of the article's title. Either way, we’ve got you covered!
Making cool apps makes us happy. So if that’s your thing too, then climb on board - let's check out the steps that go into building your first app.

“Teamwork” by Fabricio Rosa Marques
1. Come up with an idea for an app
You may already have this step covered, but there are still some juicy tidbits in here that you won’t want to miss...
Let's start with those of you who have yet to come up with an idea for an app. Don't worry - any minute now, inspiration will strike like a lightning bolt and you'll have hundreds of creative app ideas!
Nah, not really. Coming up with a great idea usually takes quite a bit of research and determination.

We’ve found that the best way to come up with novel ideas is to focus on problems rather than solutions. So ask yourself: what activity in your everyday life bugs you, or do you think could be done more effectively? Maybe there's something that you simply dread doing. Or what about the people you know? Is there something that could be done to make the problems they experience less, ummm, problematic? Do you think it could be done with an app? Yes? Great! What's next?

Illustration by Beatrix Papp, AKA fragarixie
Now it’s time to break your idea down into what is often called an “elevator pitch”. Imagine you’ve only got 20 seconds (the length of a short elevator ride) to describe your idea. How would you go about it? Do you think you could explain your concept effectively?
Elevator pitches are a great way to help you organise your thoughts and refine your ideas. We like to keep ours simple, and stick to a straightforward Problem / Solution format. Here’s an example for an imaginary shopping list app:
Problem: keeping track of the groceries I need is tedious. What’s more, I often arrive home from the store, only to realise that I’ve forgotten to buy certain items.
Solution: My Groceries App makes managing my shopping list quicker and easier. It automatically adds items that I buy on a repeat basis. Not only can I set the frequency with which certain items are added, but I can also easily reject or delay purchase suggestions.
Simplifying your idea into an elevator pitch might seem simple at first, but it’s actually more difficult than you’d think! So take your time, and really think about the best way to communicate your idea clearly.

“Elevator and Stairs” by Liz Climo
2. Critique your app idea
Now that you have your app idea neatly outlined in an elevator pitch, it's time to take a few steps back and critique it.

Illustration by Garabato Kid
Sadly, too many people spend time and money on apps that just don’t sell. Being super critical about your idea is the first step in determining whether your app will be something people really want. It may seem like an obvious thing to do, but it's a process that often gets overlooked.
The first step to critiquing your idea is to forget about it. I know this may sound strange, so let me explain...
I first heard about “diffuse mode” when doing Barbara Oakley’s brilliant course, “Learning how to learn: Powerful mental tools to help you master tough subjects” (by the way, if you want to learn new things faster, and remember content more effectively, this is the course for you!)
Although “diffuse mode” may sound like some kind of setting on Iron Man's suit, it's actually a mode our brains use to process information. When you allow your mind to shift from deep focus to a more relaxed state where it’s free to wander, you’re in diffuse mode. This shift allows our brains to make new connections. Have you ever been stuck on a problem all day, only to wake up the next morning with the solution clearly in your mind? Yes? Well then, you’ve already mastered your diffuse mode setting!
Ideas on how to trigger diffuse mode:
Go for a stroll around your neighbourhood
Get comfy and take a nap
Watch the birds outside, or people watch from your window
Simply sit down and daydream

“Great Escape” by Simon Oxley
Aaah, diffuse mode... how lovely! But it’s time to come back to reality. So switch your brain back to focus mode and take another look at your elevator pitch.
You may find that the time spent not thinking about your idea has allowed you to see it in a new light. Is it still as good as you first thought? Will it really simplify life for people? Perhaps you've come up with ways to improve the concept, or realised some things you may have overlooked.
It’s important not to get too attached to an idea as it can seriously cloud your judgement. So now’s the time to tweak, overhaul, or even completely discard ideas that aren’t working, and rather focus on coming up with an idea that will.
3. Share your app idea
Ok, so you’ve critiqued your idea and you’ve given it the thumbs up. That’s great, but there’s just one problem - YOU have critiqued your idea. We need some fresh eyes on the situation...

“Evil Eye Wallpaper” by Olive & June
A common mistake people make when building an app is keeping it a secret. This is usually because they don't want other people to steal their idea. But here’s the thing… there’s a difference between you and the next person with a great idea – you’ll actually implement it! Most people with good ideas simply don’t have the determination to see them through. If you’re committed to your idea, you’ll have the chutzpah to pull it off.
So don’t be shy, share your idea far and wide. Use Reddit/Facebook/Twitter/Instagram (whichever tool you think your users are most likely to use), to ask people what they think of your idea. And don’t just ask your friends, family, and acquaintances - ask complete strangers (preferably ones that match your target market). Often the most valuable feedback (and yes, sometimes the harshest) comes from people you don’t know from Adam. Even though some of the feedback might sting, you’ll be surprised how much it will help refine your idea.

ADC Annual Awards illustration by Rami Niemi for DDB
To get the most out of your research, it’s important to ask the right questions. Below are some examples of the type of questions to ask, not only to get the truth from users, but also to nudge the conversation in a useful direction.
WHAT TO ASK:
How do you currently solve "the problem"?
Which tool do you use to solve this problem?
How did you find out about that tool?
How much do you pay for it?
Are you satisfied with that price?
Additionally, always ask at least one question that could possibly discredit your app idea. It’s tough, but so valuable.
WHAT NOT TO ASK:
Do you think it’s a good idea?
Would you pay for this app?
These types of questions are likely to get false positives. In other words, even if someone doesn’t think it’s a good idea, and wouldn’t pay for the app, they might say they do, and that they would. Sometimes people’s kindness gets in the way of their honesty.
(If you’re not yet sure who your target market is, creating buyer personas is a great way to nail it down. Check out this guide on how to develop buyer personas for some tips.)
4. Evaluate similar apps that already exist
An idea doesn’t have to be one-of-a-kind to be great. In fact, it’s quite unlikely that your app idea (or at least something similar) hasn’t already been executed by someone else. This is actually a good thing. Why? Because someone else has already spent time and money validating your idea for you! Plus, you can assess every detail of their app to see what they’ve done right, where they’ve gone wrong, and how you could do things better... WAY better!

“Bread Barber” by Patchadapim Sansiripun
How to evaluate a competitor’s app:
1. Find feedback from the app’s users
And I don’t mean the cherry-picked testimonials on the app’s homepage. No, no, no... I mean the real stuff. The 3 star, 2 star, and 1 star reviews. The juicy complaints on the app store where users rant about bugs in the app, or their orders going missing. This is where you’ll see where your app can outshine the competition. It’s also important to take note of the rave reviews, especially if there are a number of them that mention the same things. There’s no shame in taking a few tips from another app and implementing something similar. Jot down the things that users love about your competitor’s app, and what they find frustrating. They may have mentioned features they feel are missing, so take note of those too. Remember, your goal is to create a better version of what's already out there.

“Modern Living” by Jean Jullien
2. Subscribe to the app and test it out
The best way to evaluate an app is from the inside, so set up an account and test it out for yourself. You can think of yourself like a secret agent, going undercover to source sensitive information. Yes, you may have to pay a subscription fee, but the insight you’ll gain will far outweigh the monthly or annual cost. Plus, as soon as you’ve got the info you need, you can cancel your subscription. Just be sure to read the fine print before you sign up to something that you can’t easily sneak away from…

“Smartphone” by Nabhan Al Abdullatif
3. Evaluate the app’s pricing model
Investigate how your competitor’s pricing model works. Are they making use of a freemium, premium, subscription, or pay-per-feature model? Or perhaps they’re simply relying on ad revenue.
Next, take a look at the amount they’re charging. Is it in line with the number you had in mind for your app? Do you think your users would expect a cost in a similar range, and if so, would it be viable for your business? Now, cast your mind back to the research you conducted in step 3, and the reviews you read in step 4. Are your competitor’s users satisfied with what they’re currently paying?
Pricing for an app is a delicate art. The above information will help you determine the best pricing approach to take for your app.
5. Determine the budget required
By now you’re probably pretty good at snooping around your competition. It’s time to put those newfound skills to use again, and find out how much they invested in their app. I’m talking dough, Benjamins, mad stacks of cabbage - whatever you call it. How much money did it take to get your competitor to where they are now?
Illustration by Andrea De Santis
You can start by checking out the About page of your competitor’s site. It may give some background about how the company was started. For example, they may have built the app themselves in their garage, or perhaps they funded the development from their own pocket. Next, a Google search or two should help you find out if they had investors, or if they made use of crowdfunding. This is all useful information.
If you struggle to find out how much a particular company spent on their app, try investigating a few similar apps. This could help to give you a rough indication of the amount you can expect to invest.
Factors that determine the cost of an app:
Number of app features and their complexity
Type of app (the difference between native, web, and hybrid apps)
Required infrastructure and integrations for the back-end
Complexity of the UX/UI design (User Experience Design (UX) and User Interface Design (UI). What’s the difference?)
Project management
3rd party costs (including integrations with payment gateways, courier services etc)
Any additional requirements like branding, copywriting, stock photography, hosting etc.
Don’t lose hope if the numbers seem to be stacking up before you’ve even begun! The next step works wonders for keeping costs down at the start of a project. You can also check out Forbes’s suggestions on How To Fund Your Start-Up Business Idea.
6. Build an MVP (Minimum Viable Product)
Great! You’ve validated your app idea, determined that there’s demand for it, and scoped out the competition. In short, you’ve done the groundwork and given yourself a much higher chance of creating a successful app. Congratulations! Now what?
The next step is to find the right team to build your app. You’re looking for the cheese-to-your-macaroni here. You need a team that will make the seemingly overwhelming process of building an app, seem like a piece of cake! For some tips, check out Column Five Media’s article on How to Find a Creative Agency (Plus Questions to Vet Them)
Once you’ve found the team for you, it’s time to build an MVP. MVP stands for “minimum viable product”. It’s basically a mini version of your app with just enough features to entice users to sign up. It’s fit to be released to the public, and has a great user experience, but may not have all the bells and whistles that you’d like in the final version.
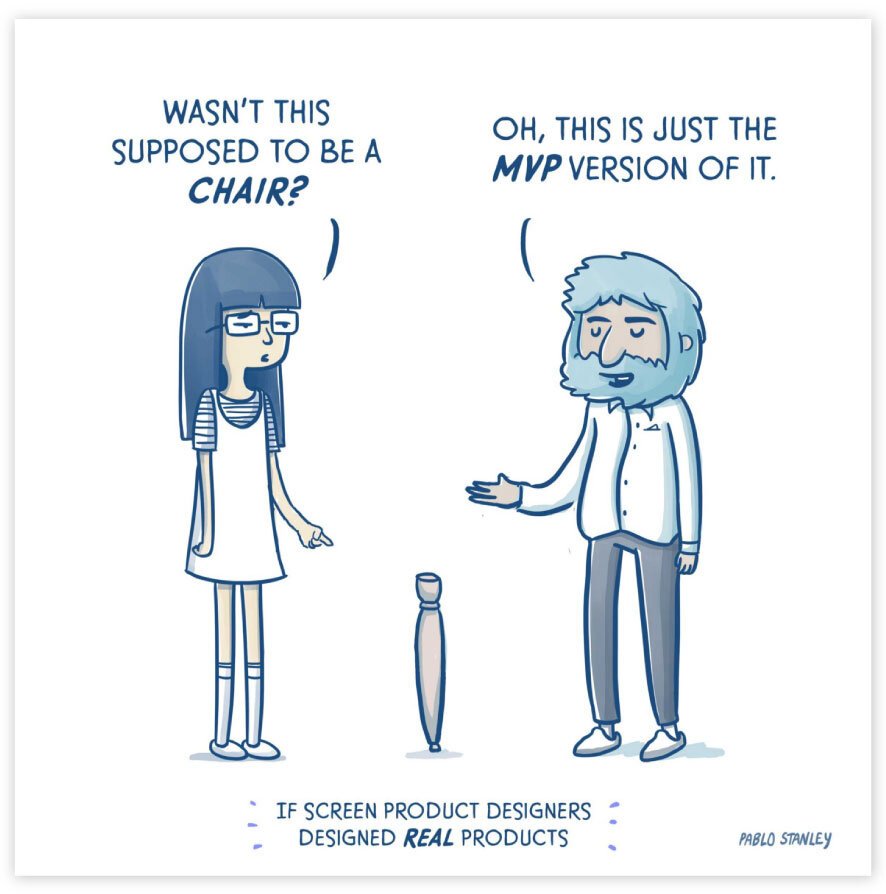
Illustration by Pablo Stanley
Imagine if you will, that you’re an aspiring restaurant owner, but aren’t quite ready to set up a brick and mortar restaurant. You decide to start off with a food truck instead. You can see the food truck as your MVP. Not only will it give you the opportunity to hone your cooking skills and refine your recipes, but you’ll also get the chance to receive honest feedback from real customers.
This works just as well for software products.
( Check out more about MVP’s and some close relatives in our post: Minimum Viable Product, Minimum Marketable Product, or Minimum Loveable Product. What’s best? )
7. Conduct usability testing on the MVP

ADC Annual Awards illustration by Rami Niemi for DDB
Once your MVP is up-and-running and you have some users on board, why not ask a few for their feedback? In return you could throw in a free month or two to their subscription, or perhaps send them some merch (Dad, if you’re reading this, “merch” is short for “merchandise” and refers to any goodies branded with your company’s logo).
You don’t have any users yet? No sweat! There are plenty of platforms out there that give you access to a range of users who will test out your app and provide feedback. You can even fine-tune the type of users that participate in the usability testing so that they match your target audience. You’ll then set up tasks for the users, and observe them as they interact with your app. The insights can be unexpected, to say the least.

ADC Annual Awards illustration by Rami Niemi for DDB
Some do’s and don’ts of usability testing
DO’s
DO ask users to speak their thoughts out loud while they interact with your app.
DO provide tasks and ask users how they’d achieve them e.g. “If you wanted to change your password, how would you go about it?”
DO take note of the users’ facial expressions and body language, but be mindful that these non-verbal cues may not necessarily relate to the app; they could be due to the fact that the user is not in a completely natural environment.
DON’Ts
DON’T help the user.
DON’T prevent mistakes, or make suggestions e.g. don’t say something like, “Maybe you should try add filters to your search?”
DON’T talk too much. If you distract the user, they won’t be able to focus on their task, and you’ll miss their natural user flow.
DON’T ask yes/no questions. Rather ask open-ended questions that encourage more informative responses.
DON’T believe everything your users say. No matter how comfortable the testing situation is, it is still not a natural environment for users and it may influence their responses.
We’ve found the feedback from services like User Testing incredibly valuable, but if you’re in the mood for something a little different (as well as hilarious), check out The User is Drunk (by Richard Littauer), and The User is My Mom (by Scotty Allen). You won’t regret it!
8. Build a fully-featured app
Before we go any further, let’s go back in time a bit. Oooh, I love this part!
Remember that elevator pitch you wrote back in step 1? Well, pull it out and let’s have a look. Does it still seem as spot-on as it did at the beginning of the process? It’s likely that it needs some tweaks. By now you’ve probably learnt so much unexpected stuff about your users that your initial assumptions seem out of touch. Take the time to update your elevator pitch before moving on.

Artwork by Andrea Crofts
Now that you have everything you need to take your app to the next level, all that’s left to do is deliver. You have a dedicated team, and feedback from your MVP users. You’ve generated some revenue from your existing users, or perhaps you’ve found an investor. The most difficult work is behind you, but now’s not the time to lose steam!
Use the momentum you’ve built after the past few months to add the features your users have been asking for. Remember - this doesn’t all have to be done all at once - you can prioritise the features and tackle them one-by-one. This approach not only makes your life easier, but also allows you to get feedback from users about each new feature as it’s released.
My app is finished! Now what?

Illustration by Beatrix Papp, AKA fragarixie
Congratulations! Those months of hard work and sheer determination have paid off! Your app is finally finished.
Wait... What? Finished??? I don’t think so. An app is kind of like a garden; it requires constant TLC. It’s what you do now that really matters. Check out this article for some guidance on the steps to follow towards true app success: I have a new website, now what? Although it’s geared towards websites, the steps apply to apps as well.
Although you may have started reading this article feeling like a bit of a newbie, you’re officially not one any longer! All that’s left is for you to knuckle down and get to work. We can’t wait to check out your app - or better yet - help you bring it to life! So if you’re looking for an agency to be the cream to your coffee, reach out to us. We’d love to work with you!